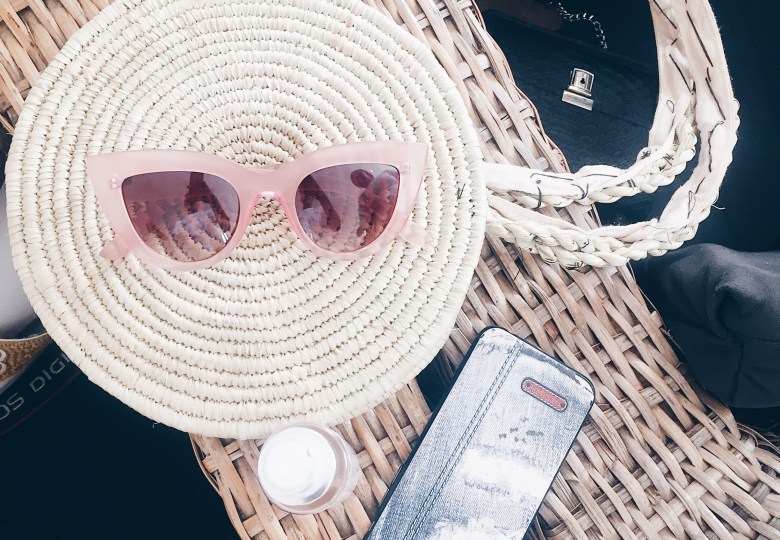
Rafia Bag DIY

Hi guys,
I’m writing this post from my bed with a cold that doesn’t want me to be great. However,i wanted to make sure i put up this post for you guys. So let’s get into it.
For more than a year now, the rafia bag, clutch, purse has been trending and making its way to being a fashion staple. Now these things are expensive, go on Etsy and look in a couple shops and see how expensive they are and you know I’m all about affordable fashion and making what you have work. So i decided to DIY myself a rafia bag.
On Friday i finally visited the Arts and Crafts village in Jabi and i was majorly impressed, if you follow me on Instagram you would have seen how excited i was to be there. While i was there I picked up what I needed for the DIY which were:
two small- medium sized rafia place mats and
a roll of rope.
Also you’ll need some glue, if you have a hot glue gun even better, scissors, needle and thread or a sewing machine.

Now lets get into the DIY portion of the post. Firt step is to find an old tote bag and place the place mats on it including the straps and cut around the mats.

Next is to sew along the cut part of the tote bag, joing them together. You can hand sew like i did or use a sewing machine.

Next you glue down the mat to the fabric bag and leave an opening at the top for the straps

Next you braid or twist the ropes for the straps and attach them to the straps of the fabric bag by glueing them down if you have a hot glue gun or stitching them down like i did.


Finally you glue/ stitch the straps down to that open space tpu left when gluing the mat. And there you have it a rafia bag.

Let me know what you think on the comments. Do you want more content like this?, what DIY do you want to see next?